Projects
Vouch Projects offers a new way to stay organised by grouping associated requests, syncs, videos, and files into a single, dedicated container. This feature allows you to manage every stage of your production in one place, with the added ability to track progress through custom statuses and set clear due dates for your team.
The following guide outlines how to setup a project in your workspace.
Creating a project
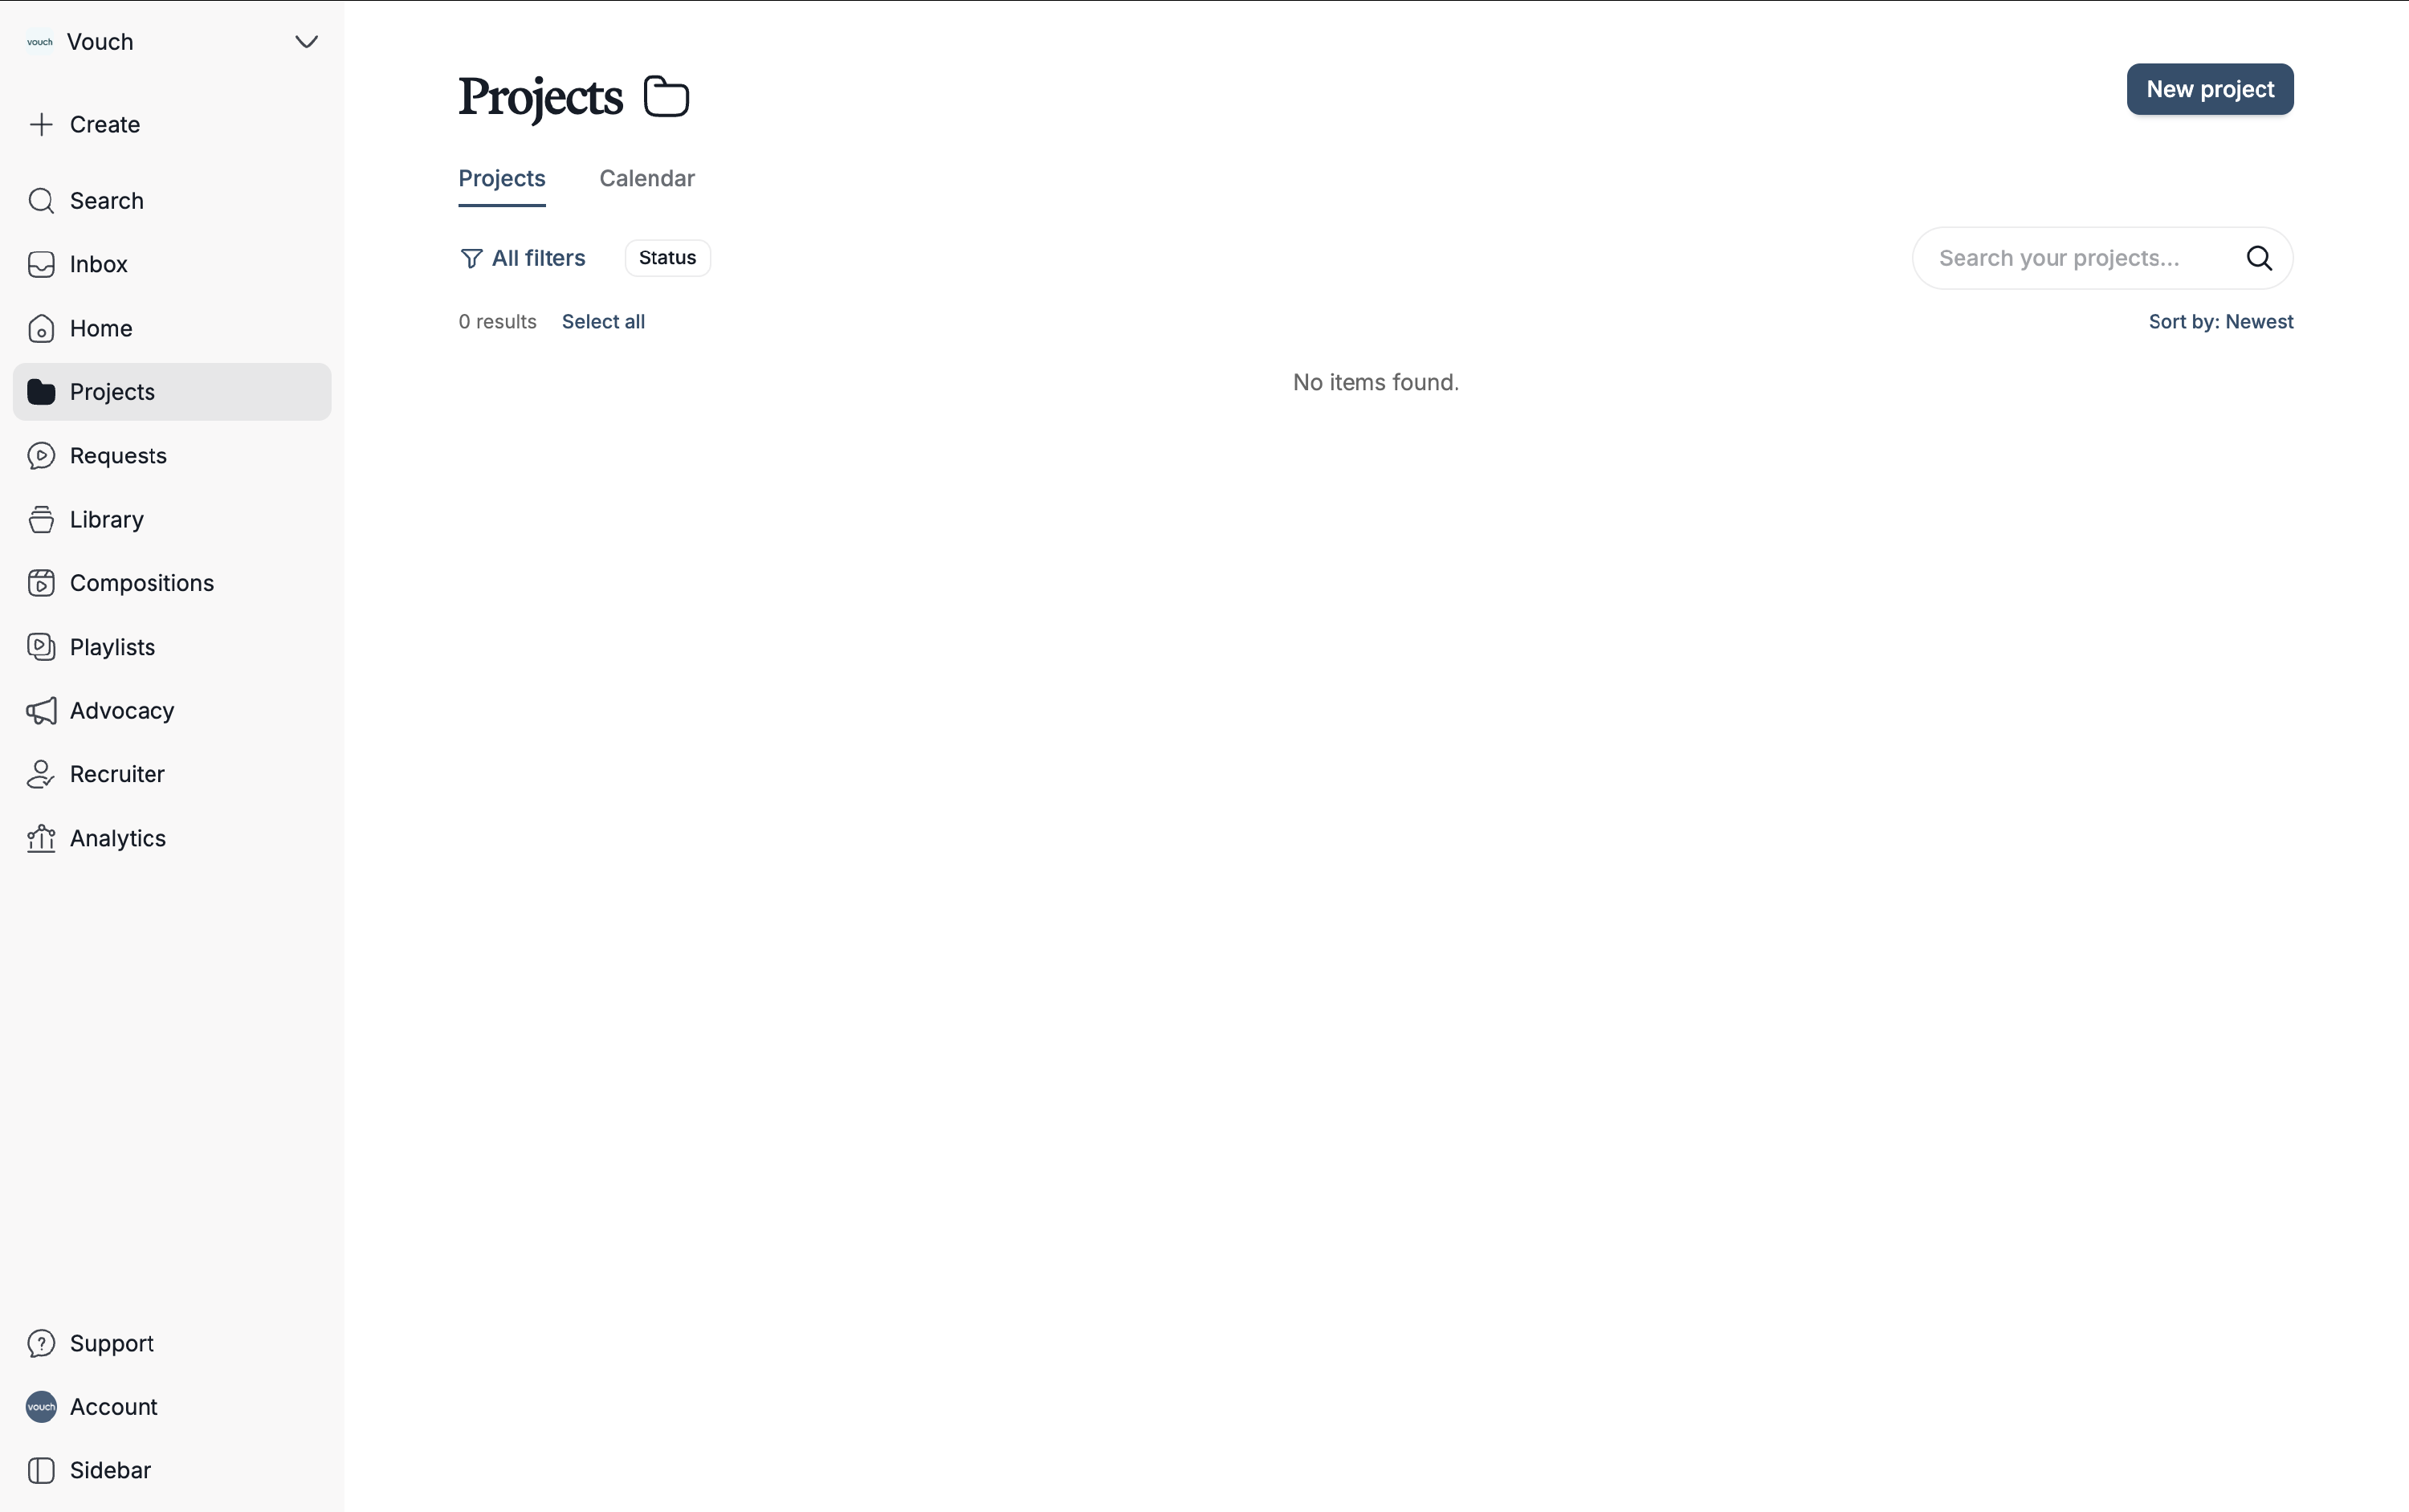
To create your first project, select Projects from the left-hand navigation menu and click the new project button in the top right corner.
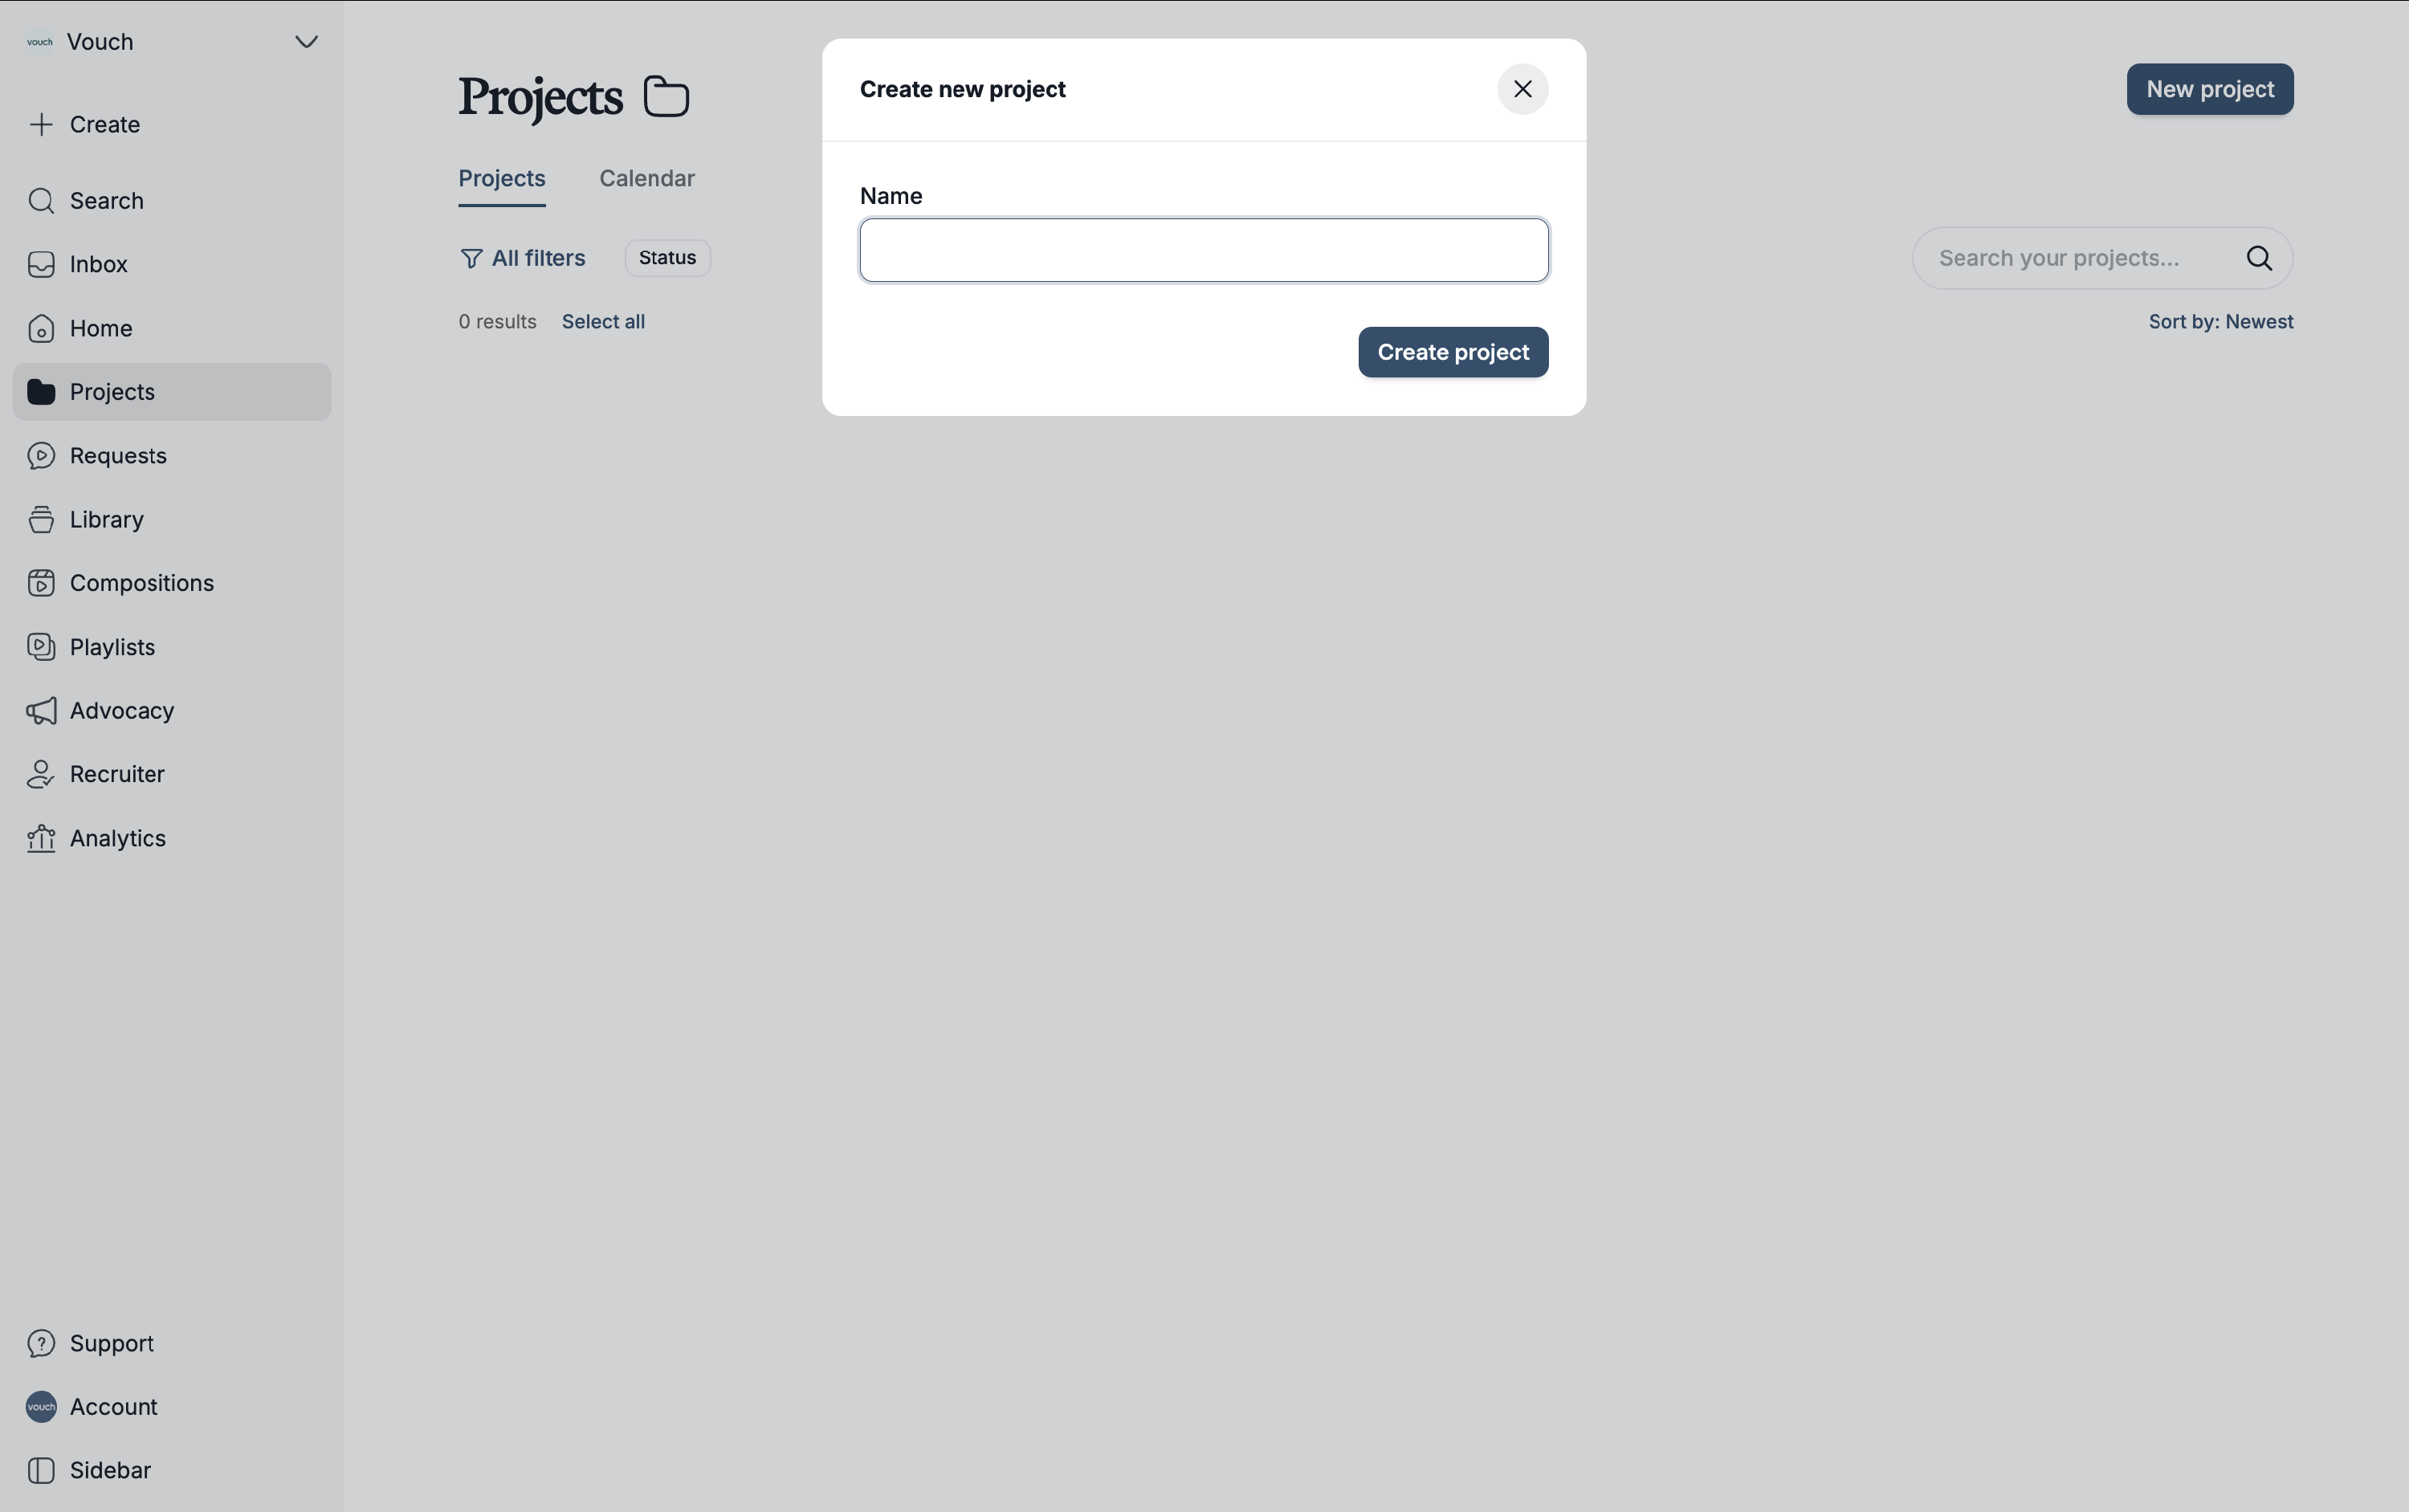
A modal will appear where you can enter your project's name. Once you’re happy with the title, click create project to begin adding content and configuring your settings.
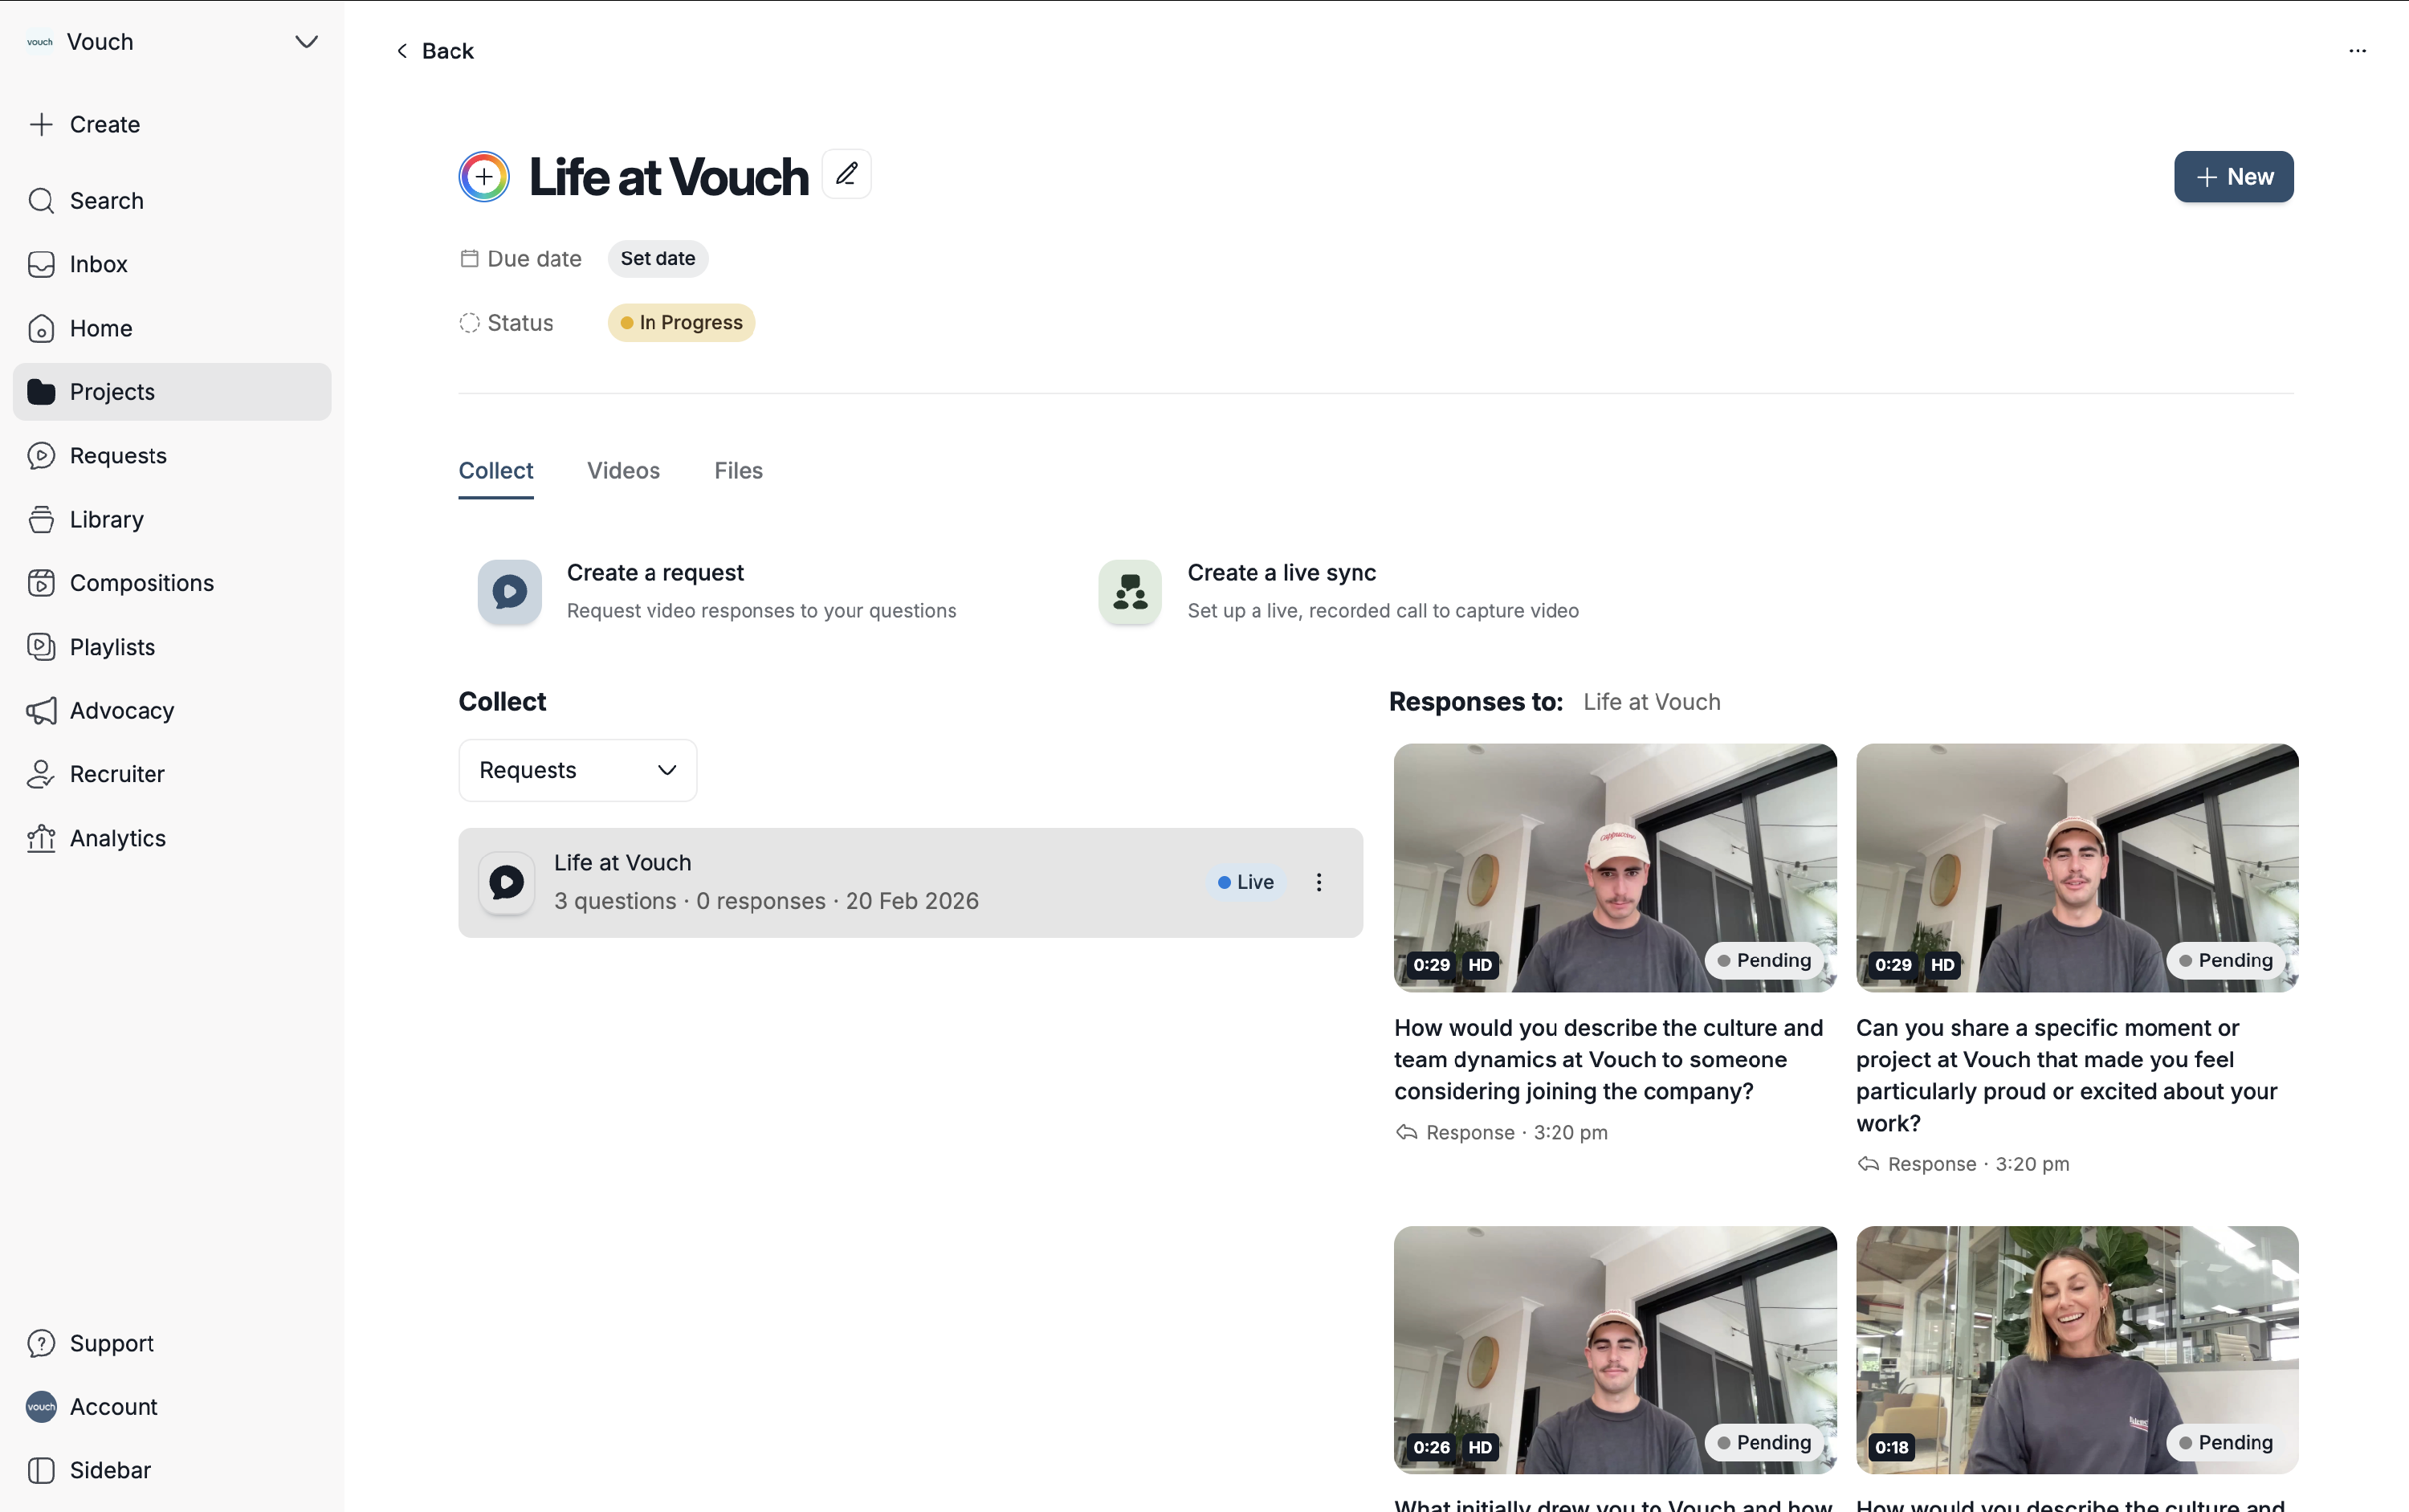
Configuring a project
You can customise your project by defining a colour identifier, setting a due date, and leveraging Kanban configuration options. All of these configurations are optional, allowing you to set what is relevant for your organisation.
Project colour
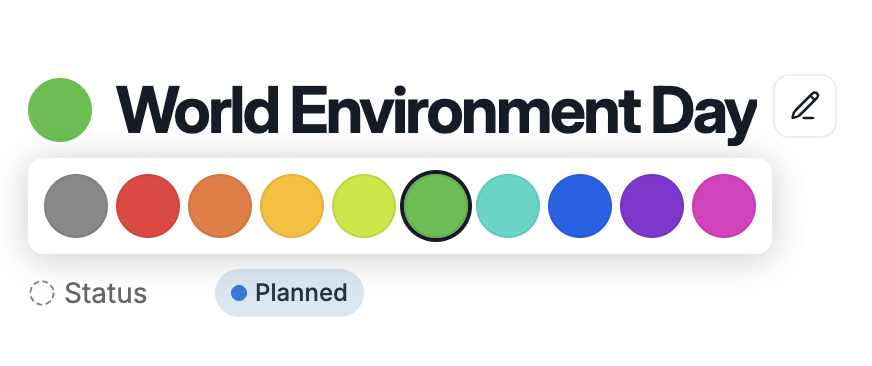
To set a colour identifier, click the colour wheel located to the left of the project name and select one of the 10 available colours. These identifiers allow you to quickly distinguish projects within both the project listing and calendar views.
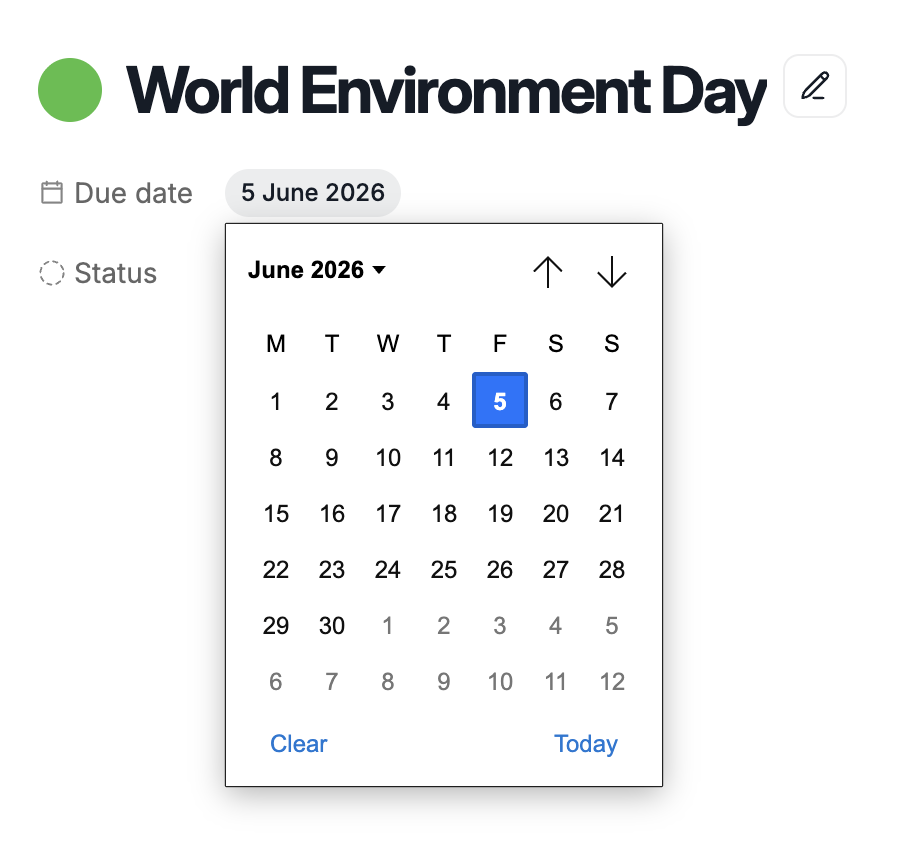
Due date
To leverage the calendar view feature, set a due date to create a visual timeline of your upcoming deadlines. This allows you to track exactly when each project is due at a glance.
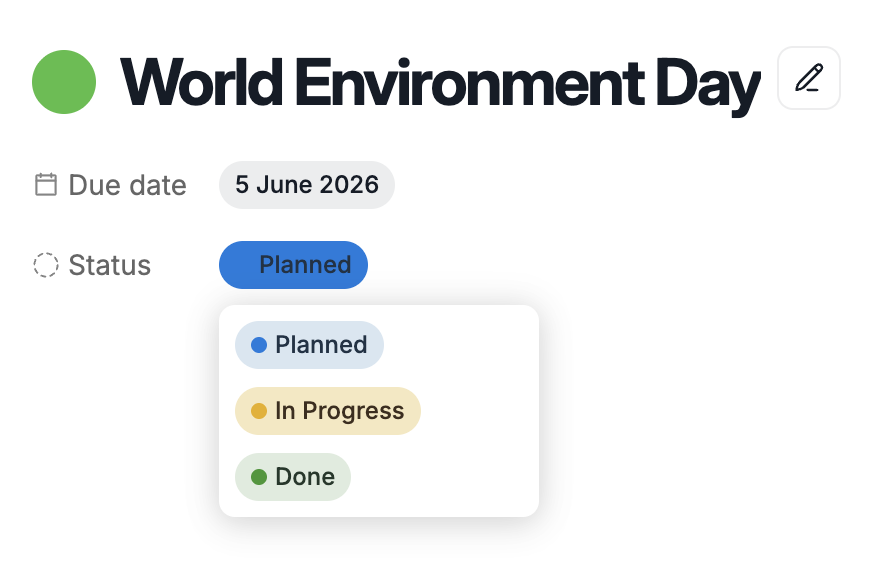
Project status
Manage your project’s lifecycle by defining its status as in-progress, planned, or done. Simply select one of these three options from the picklist to accurately reflect the project's current standing.
Creating collection options
Once you have finished configuring your project, you can begin adding requests and syncs. Content collected through these features is automatically integrated into your project, eliminating the need for manual intervention. You have the flexibility to add an unlimited number of requests and syncs to any single project.
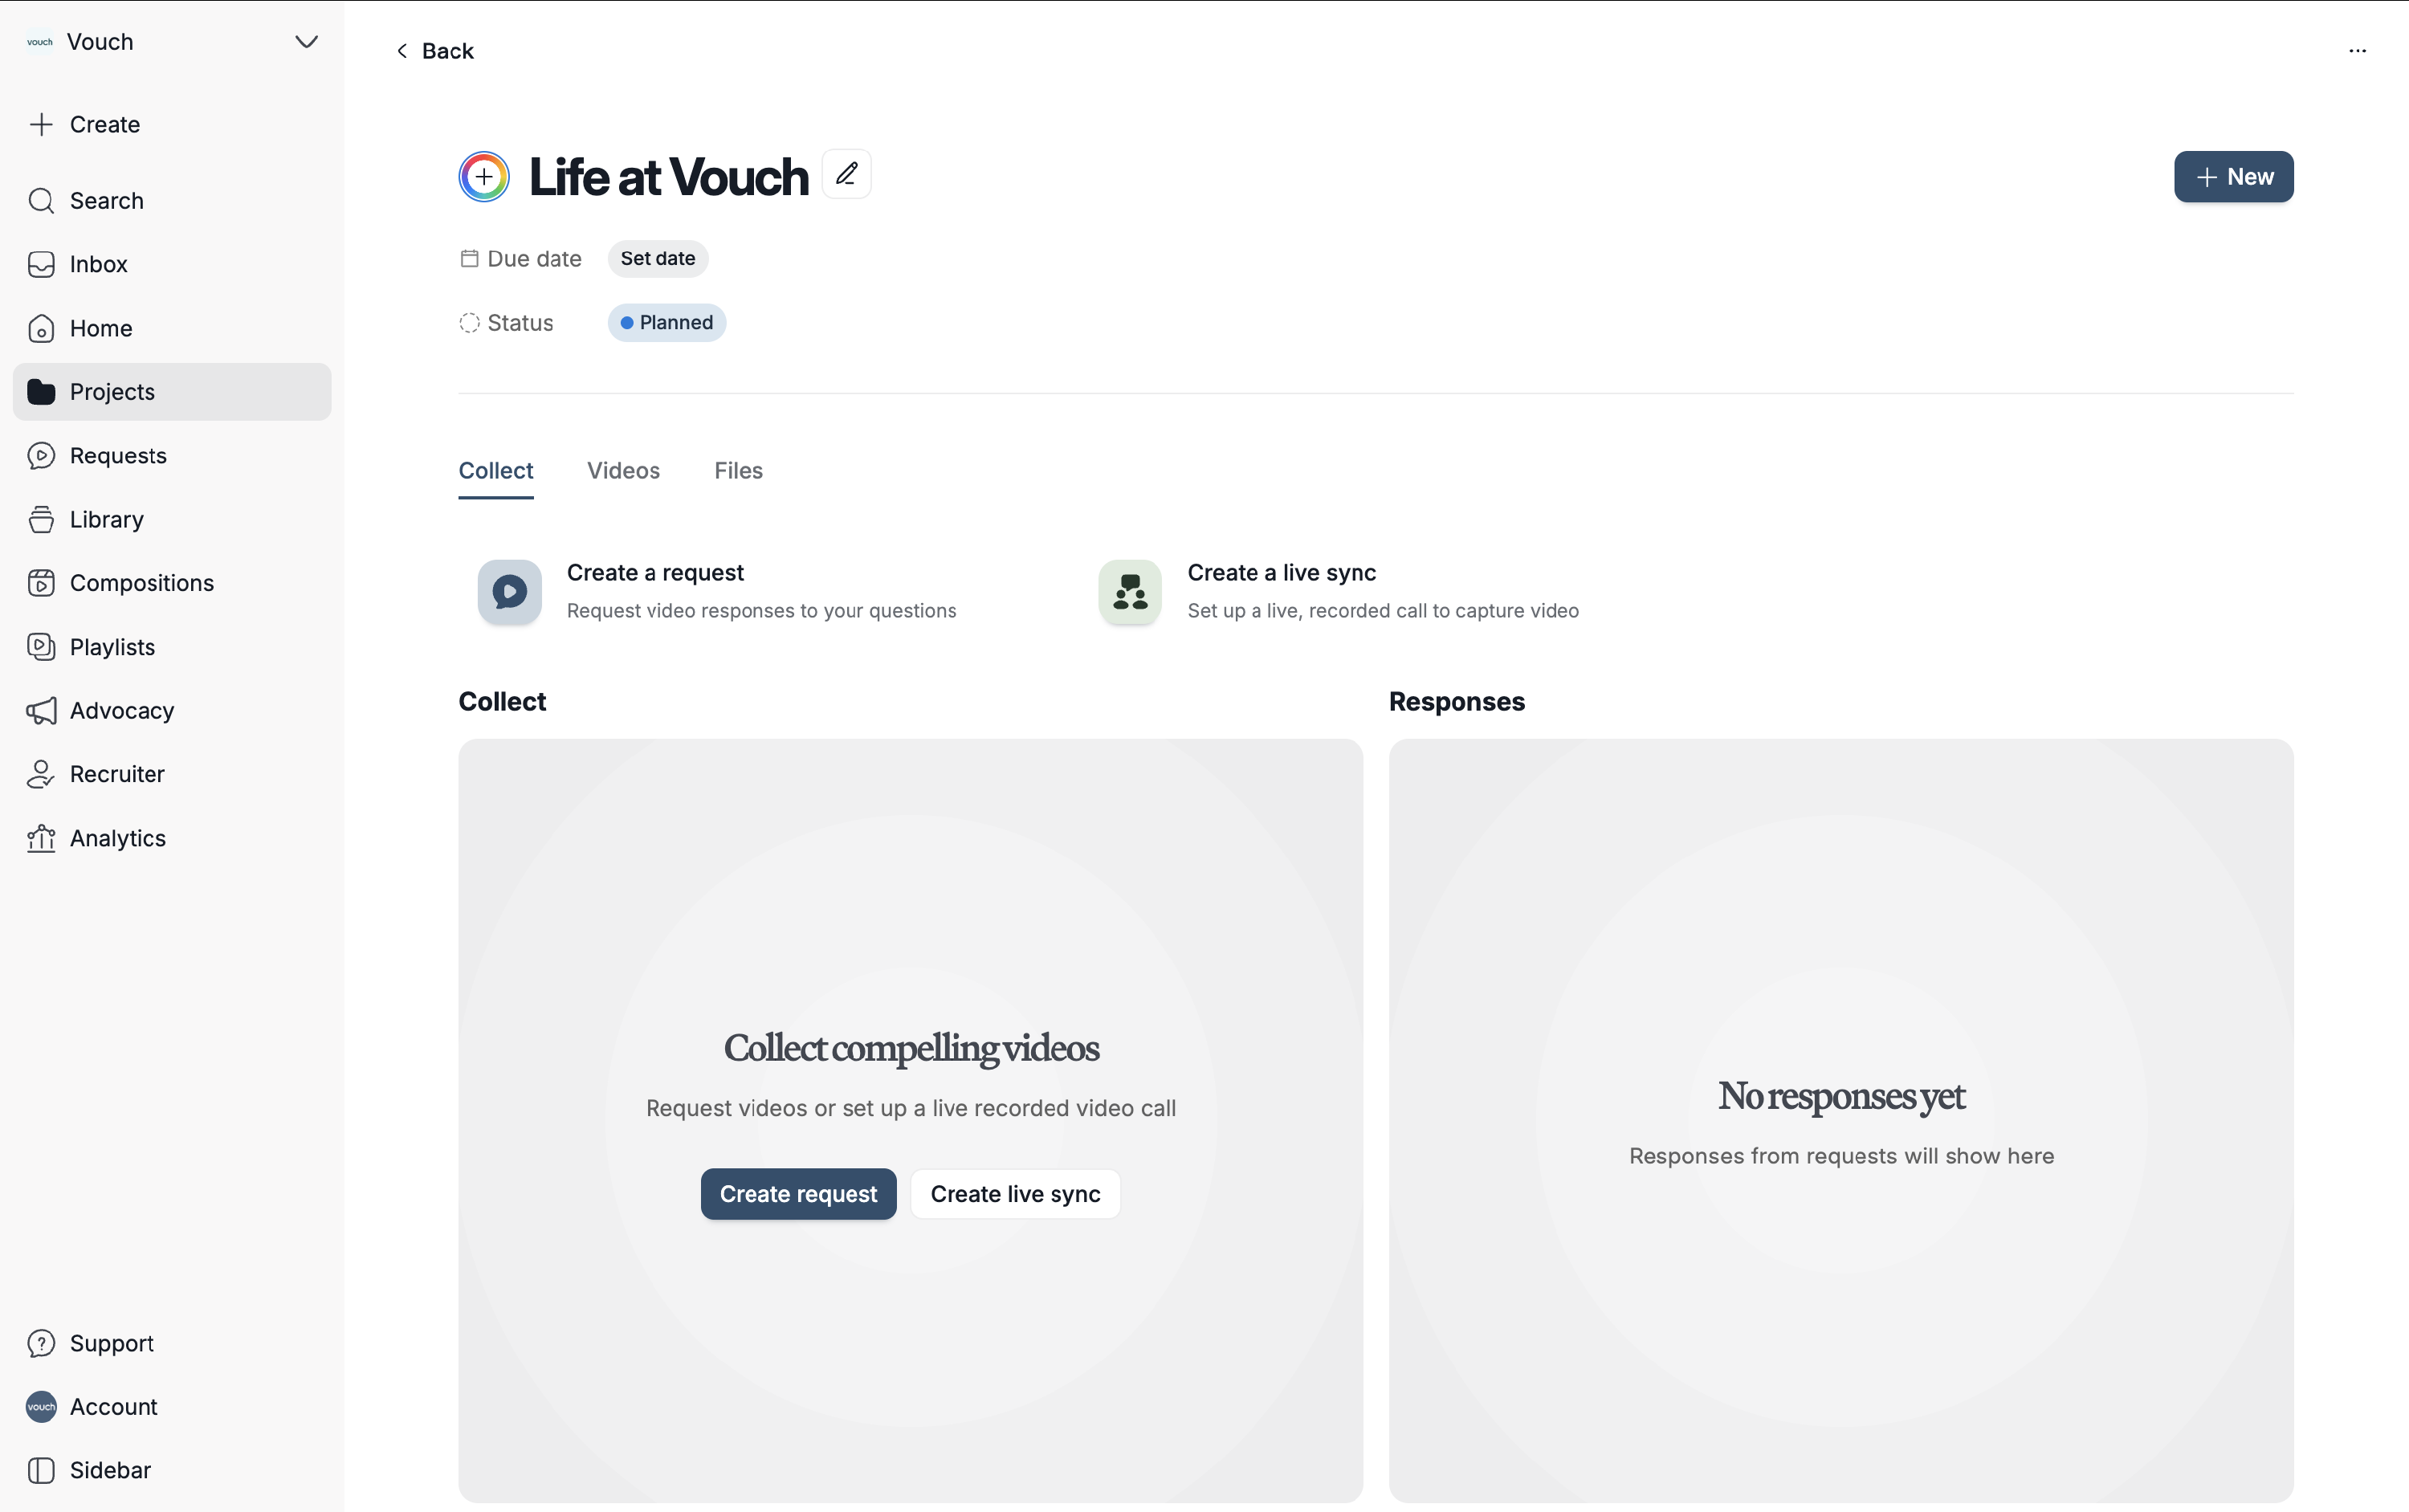
To add a new request or sync, simply select create a request or create a live sync and follow the guided configuration steps. Once setup is complete, the new association will be visible directly within your project view.
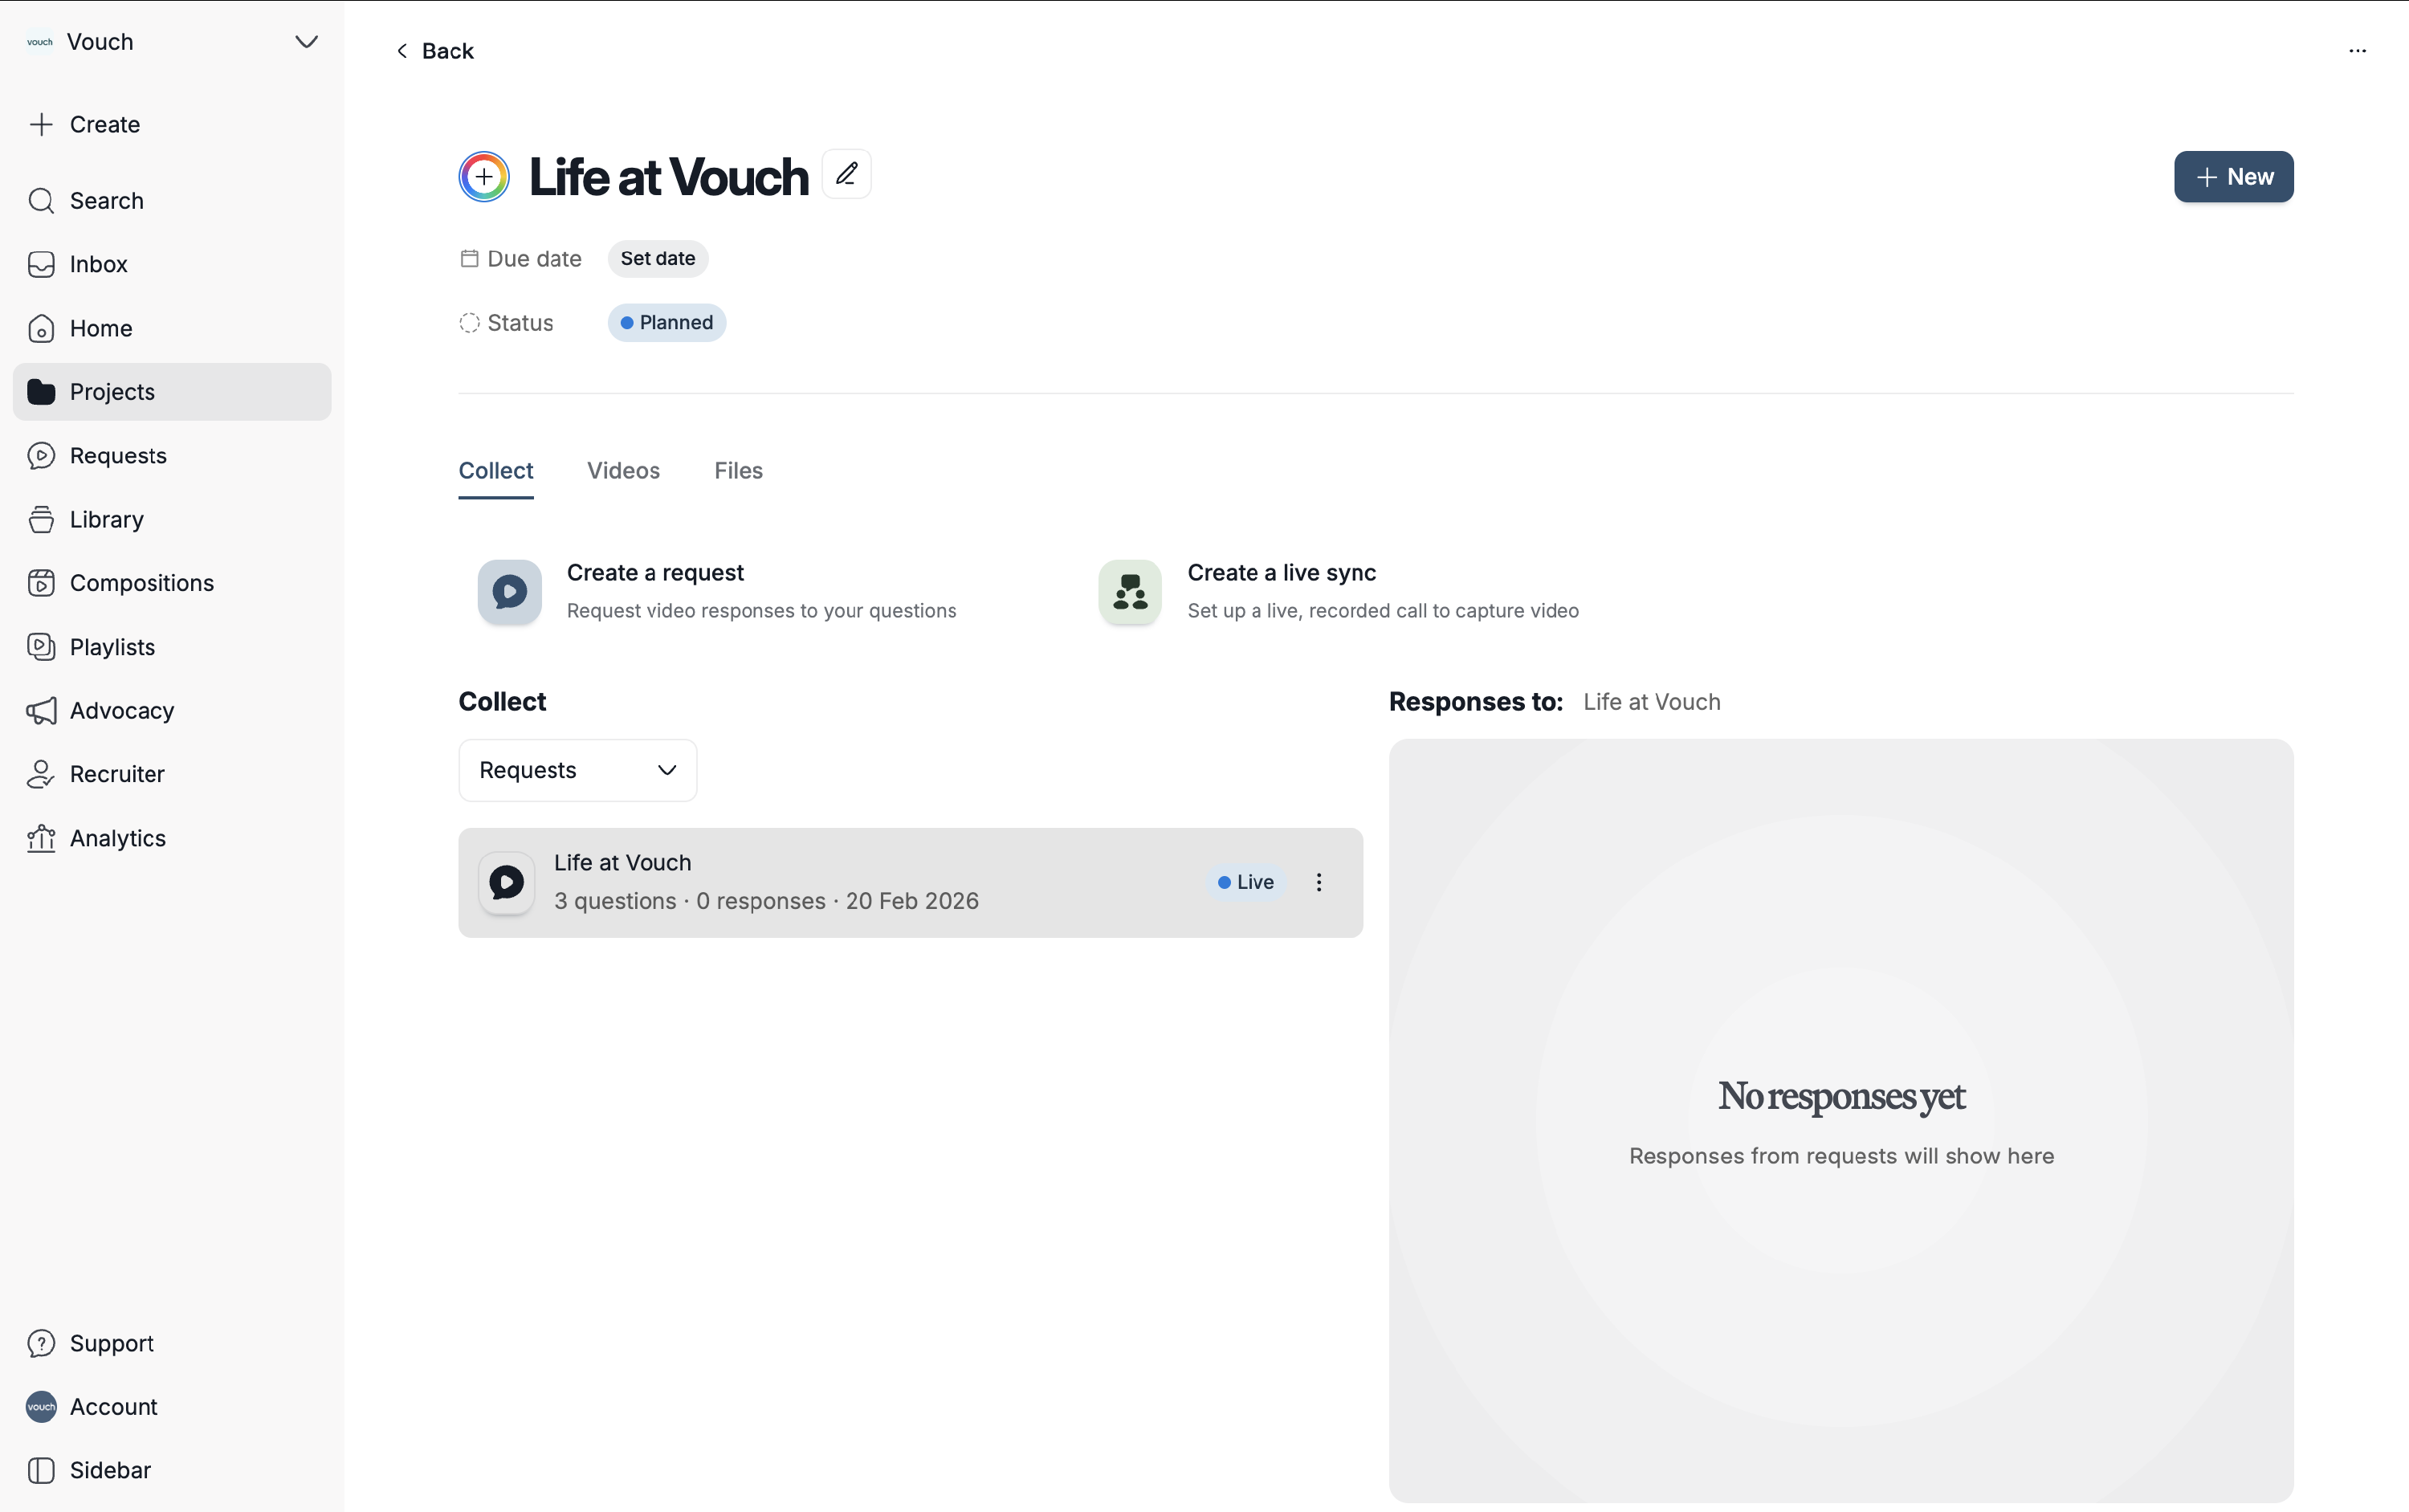
As content is gathered through requests or live syncs, the associated records will automatically populate under the collect tab. This centralises your incoming data for easy review and management.
To add an existing request or sync to your project, click the overflow menu on the respective details page and select link to project. This quickly associates your current assets with the project without needing to recreate them.
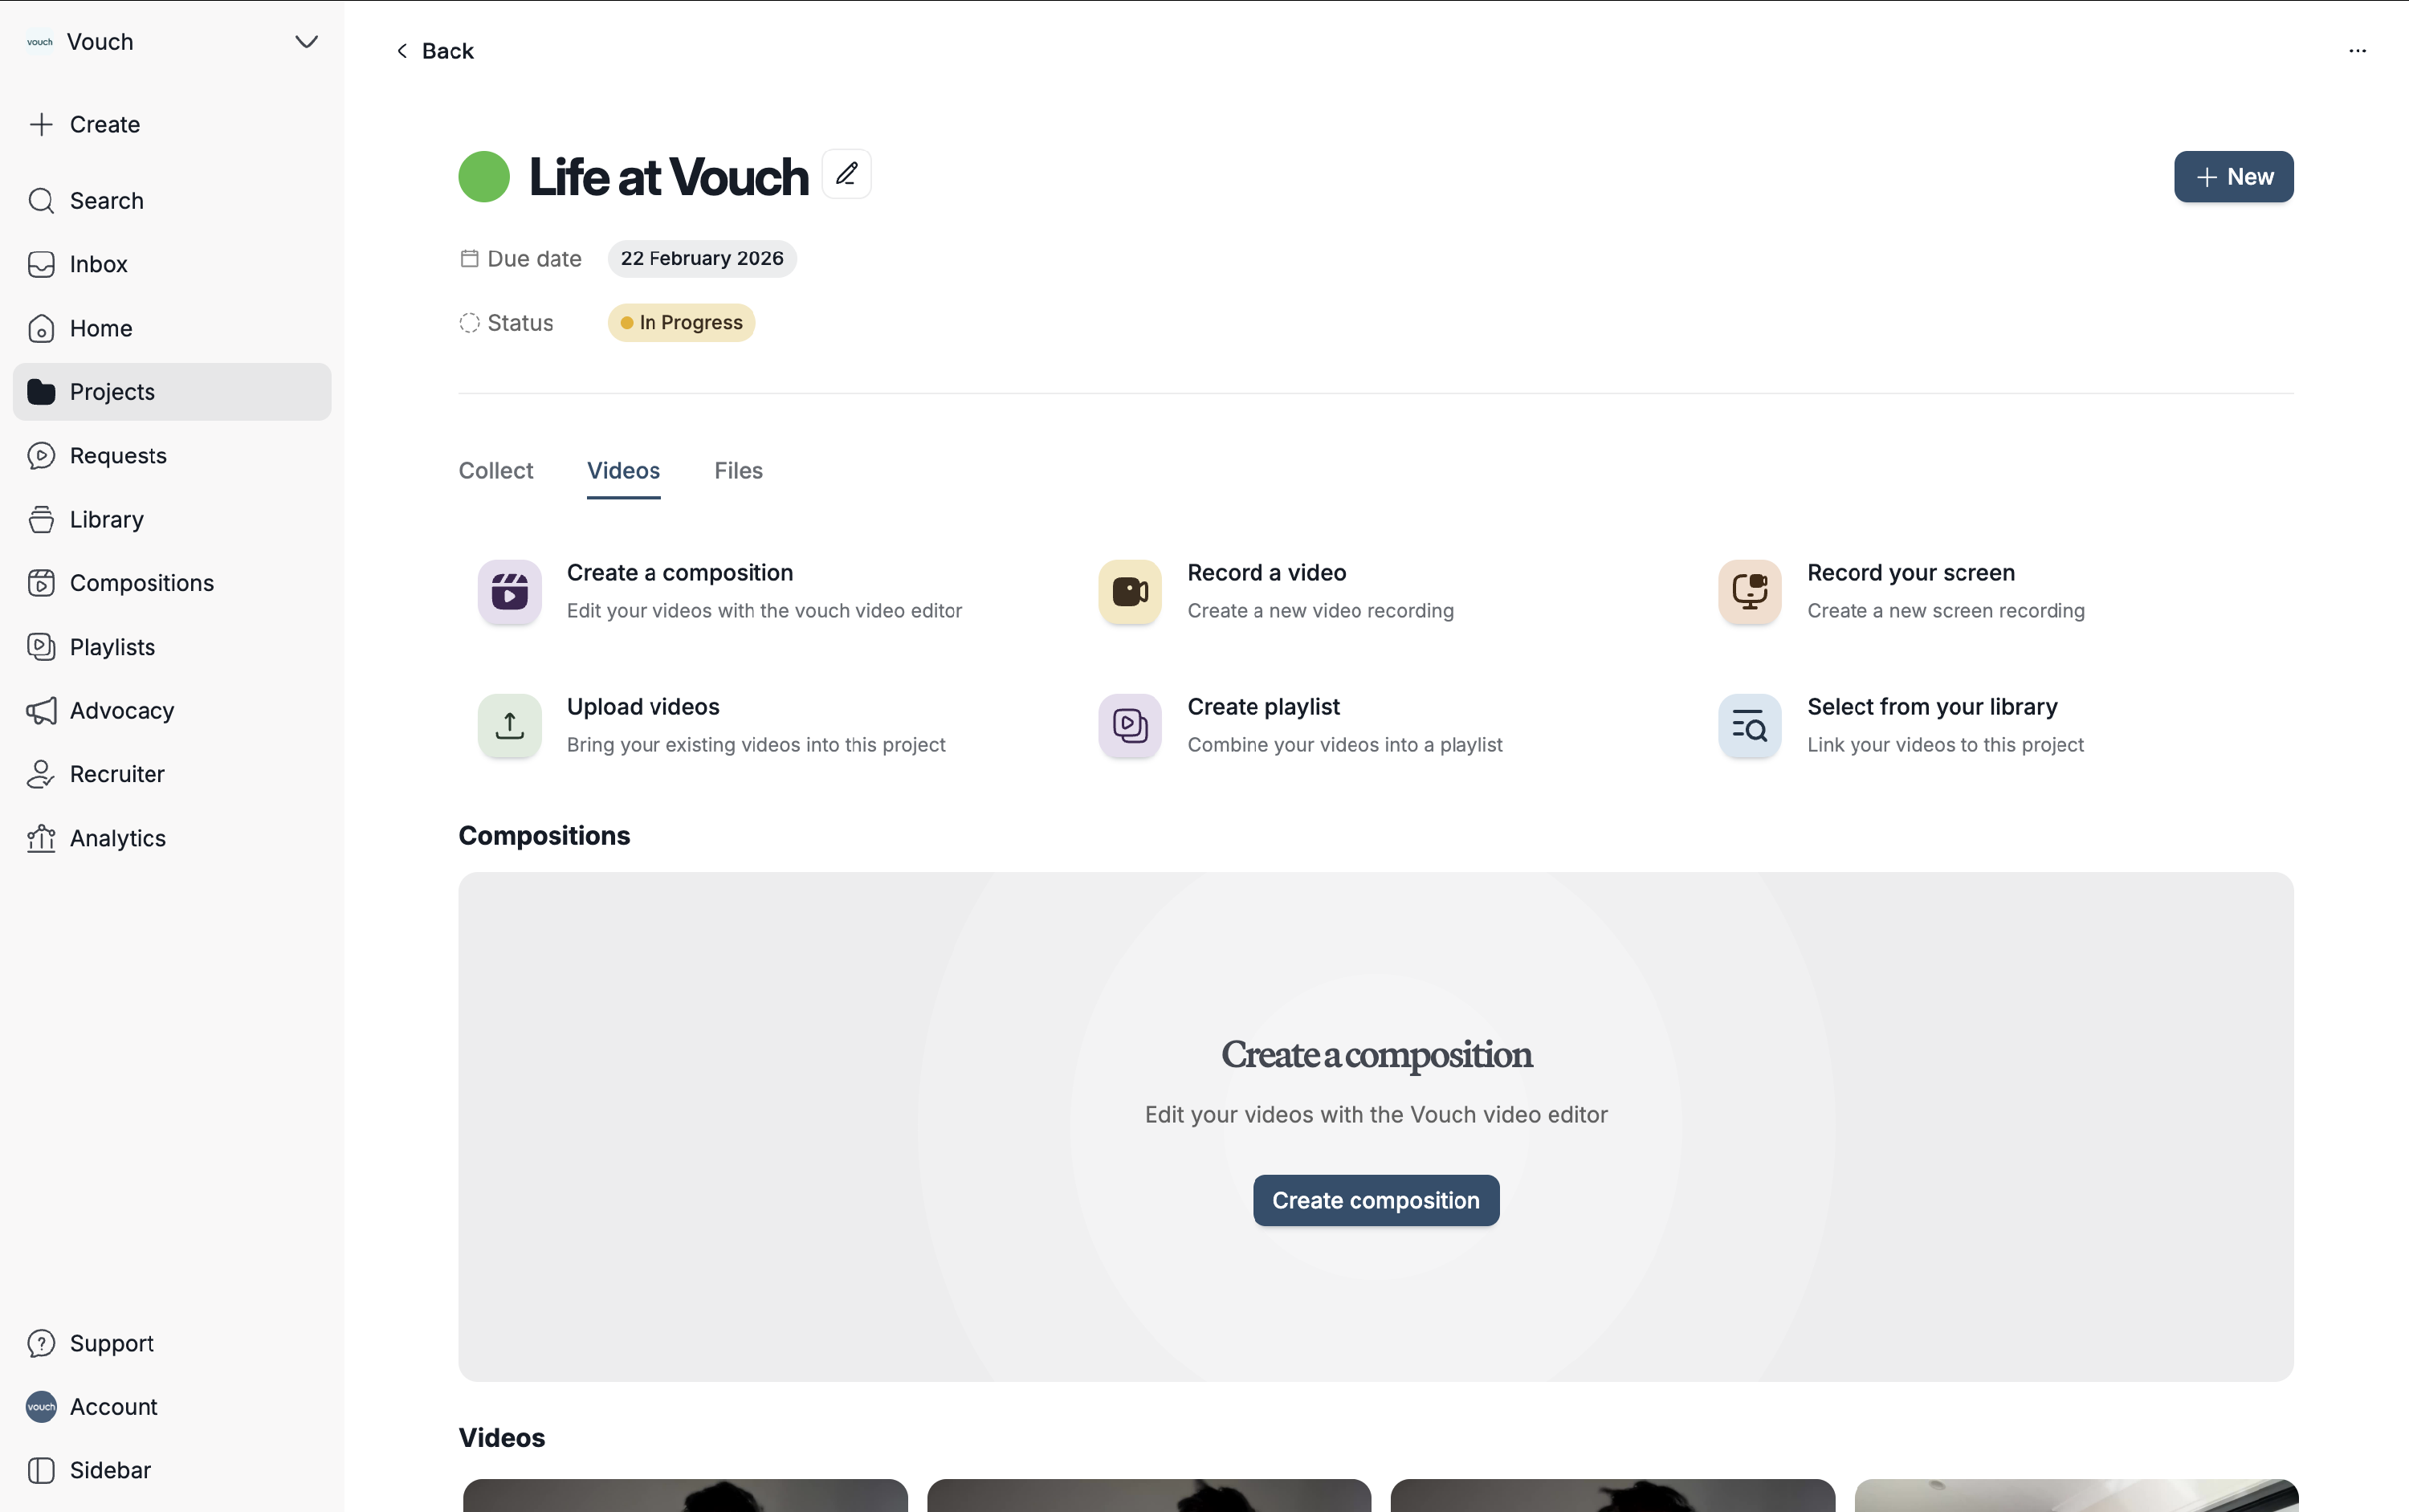
Adding videos and files
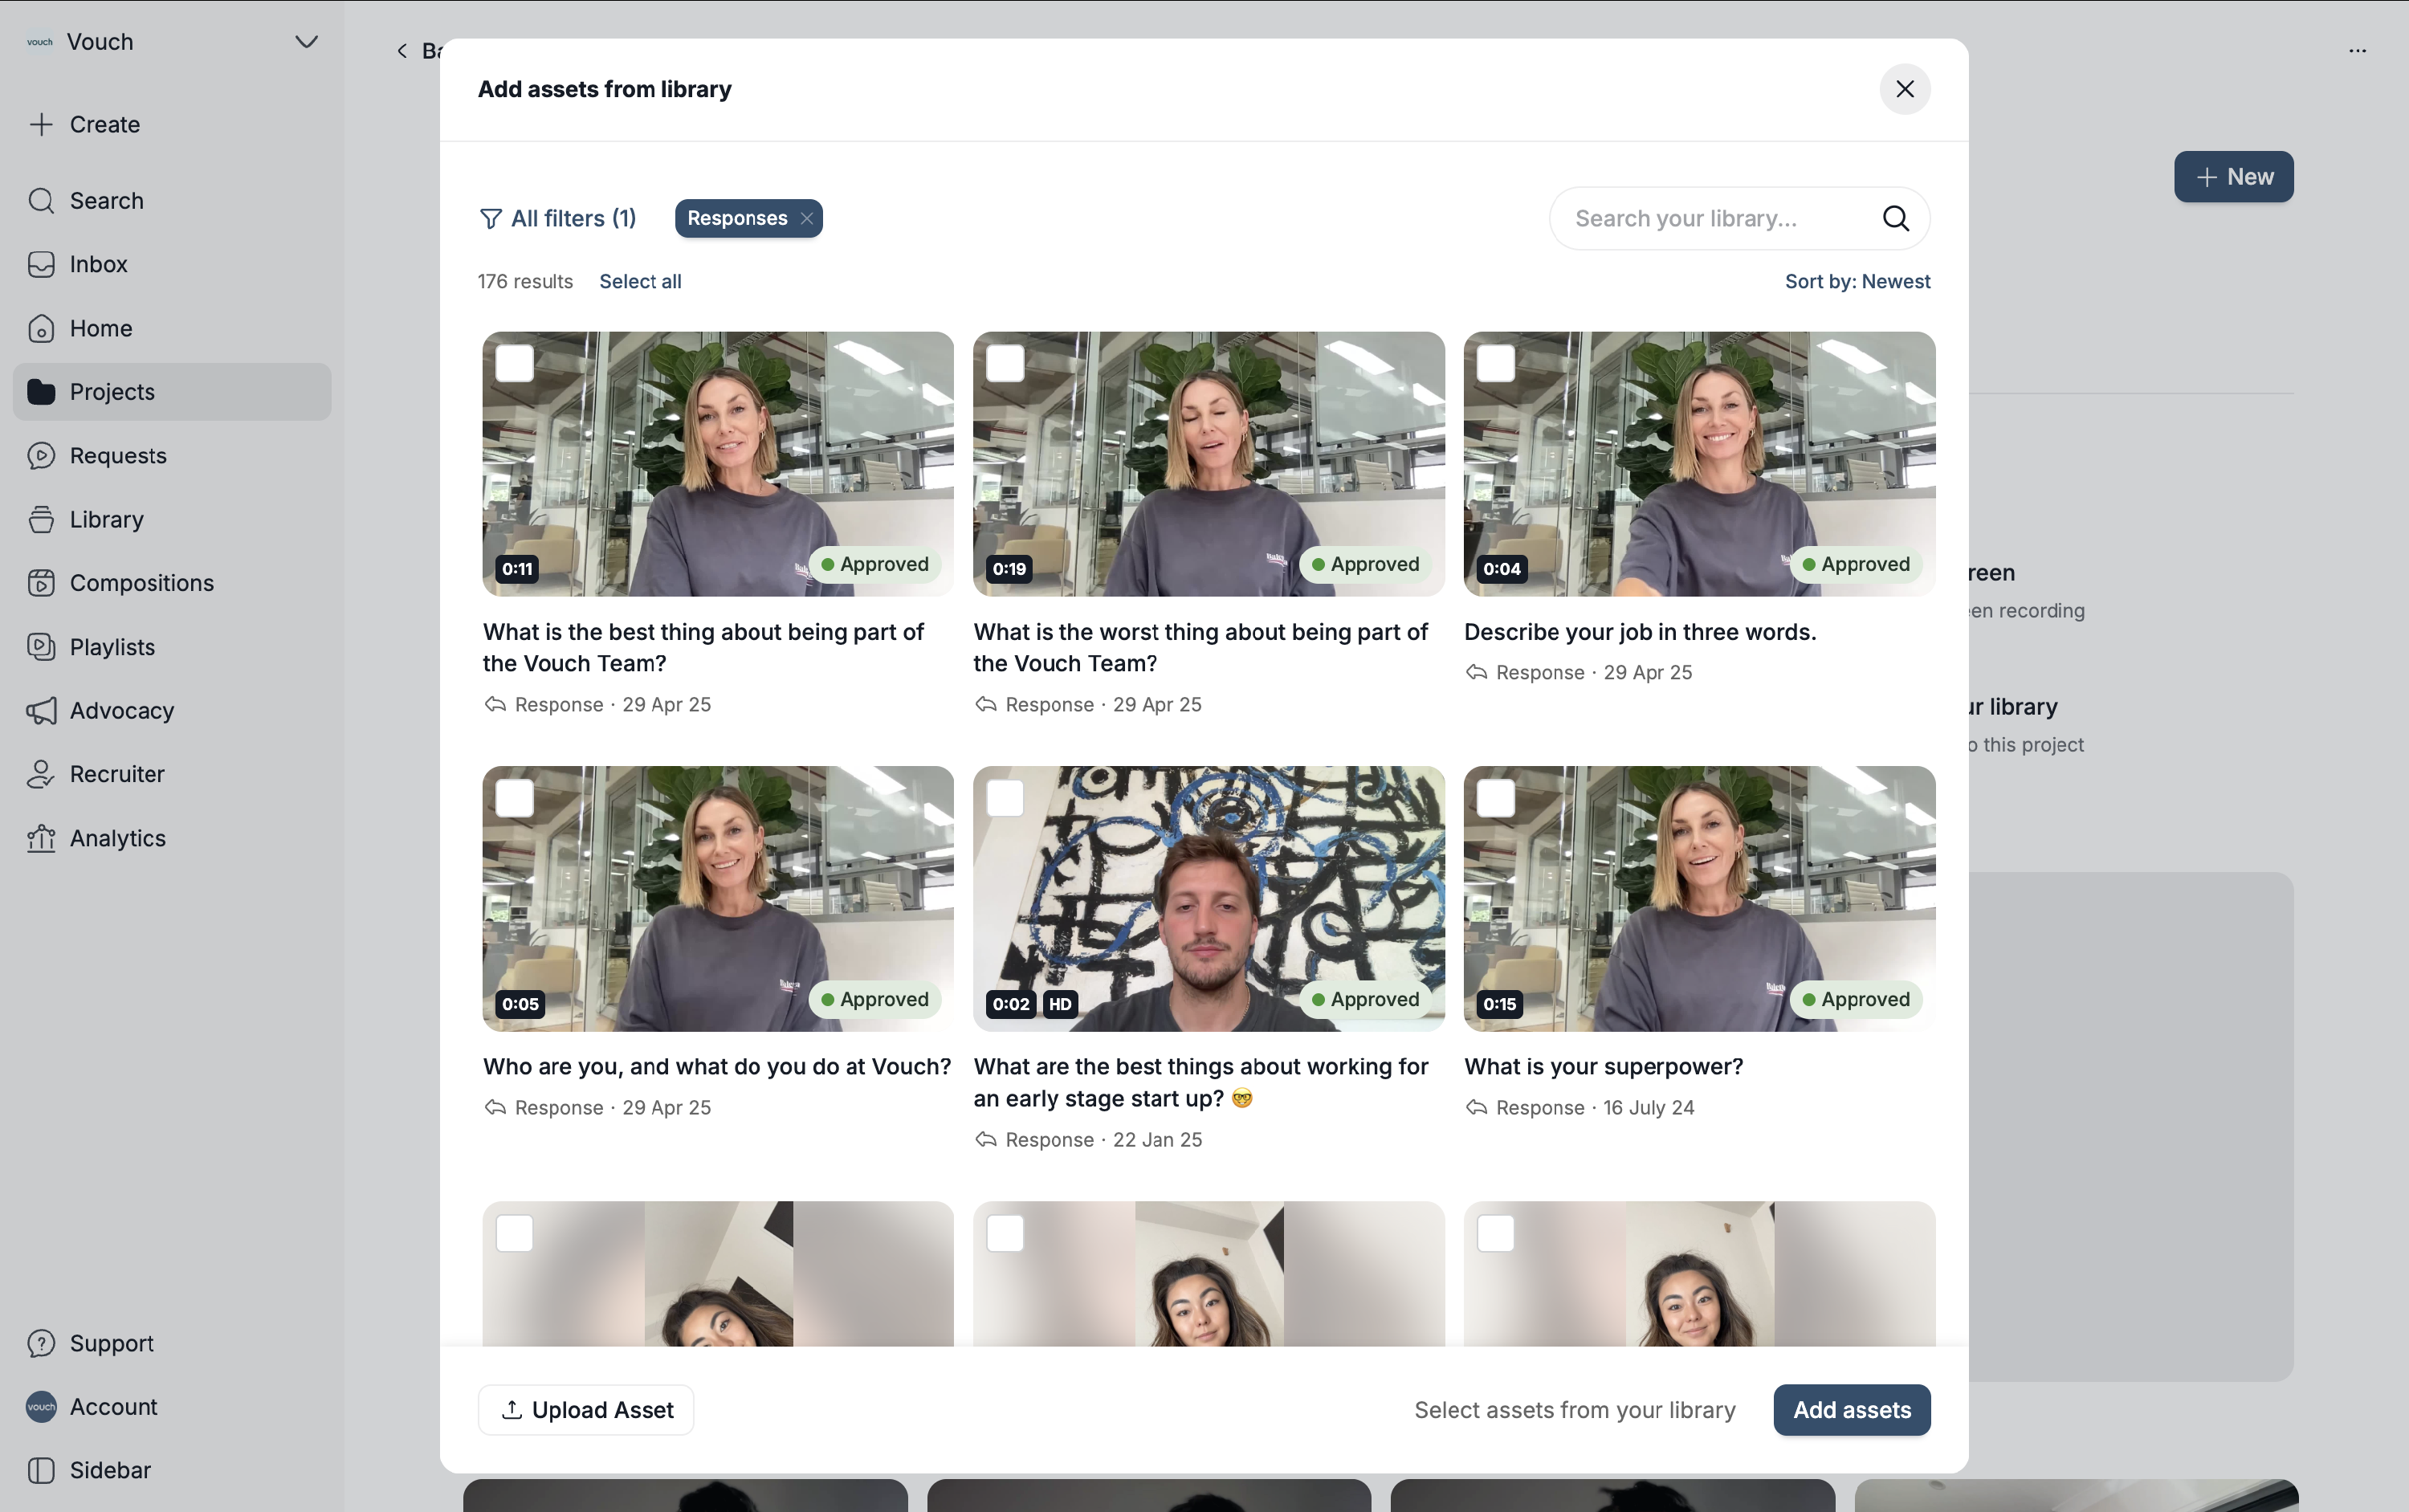
To add other videos and files to your project, simply click the respective tab within the project view and choose from the available options. Vouch allows you to upload existing files, record a new video directly, or select assets from your existing library.
When adding from your library, you can browse your entire workspace to select and add any existing videos or files. This provides a seamless way to repurpose your current assets within the project.
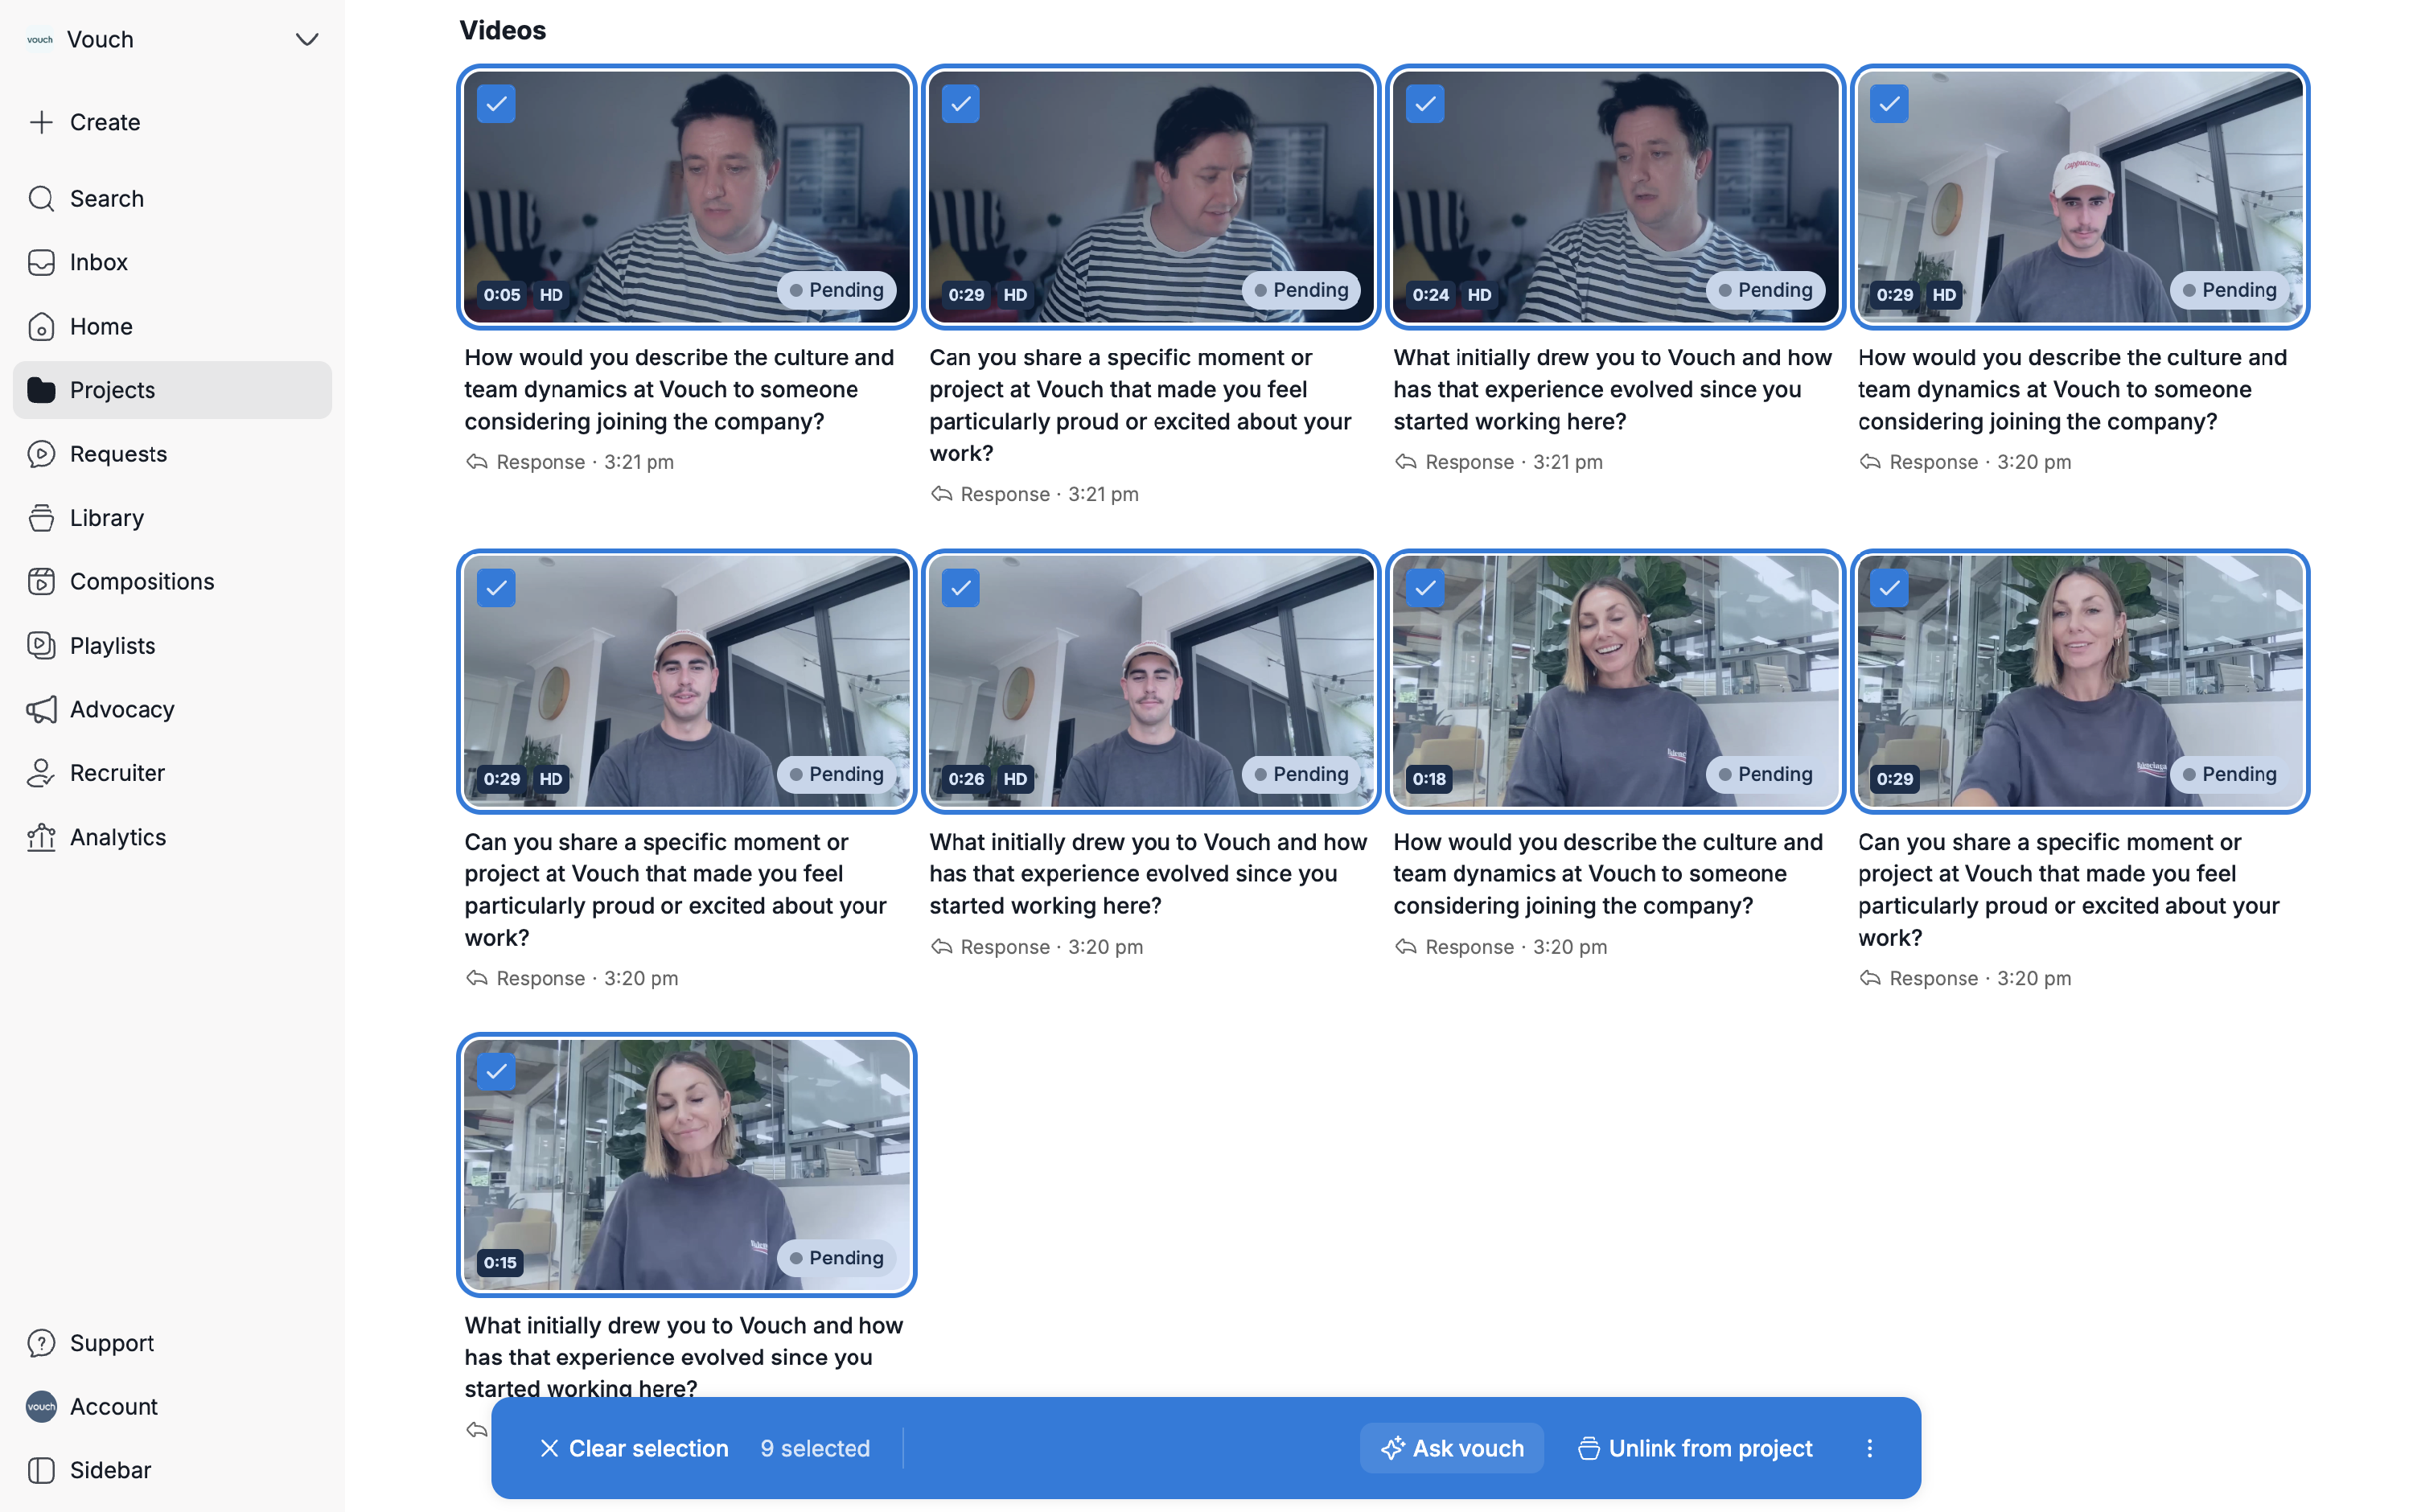
Creating outputs
The primary outputs you can generate from your project are compositions. You can create an output in two ways: first, by selecting create a new composition and following the guided setup flow.
Once you are in the respective editor, you will have direct access to the specific videos and files associated with that project.
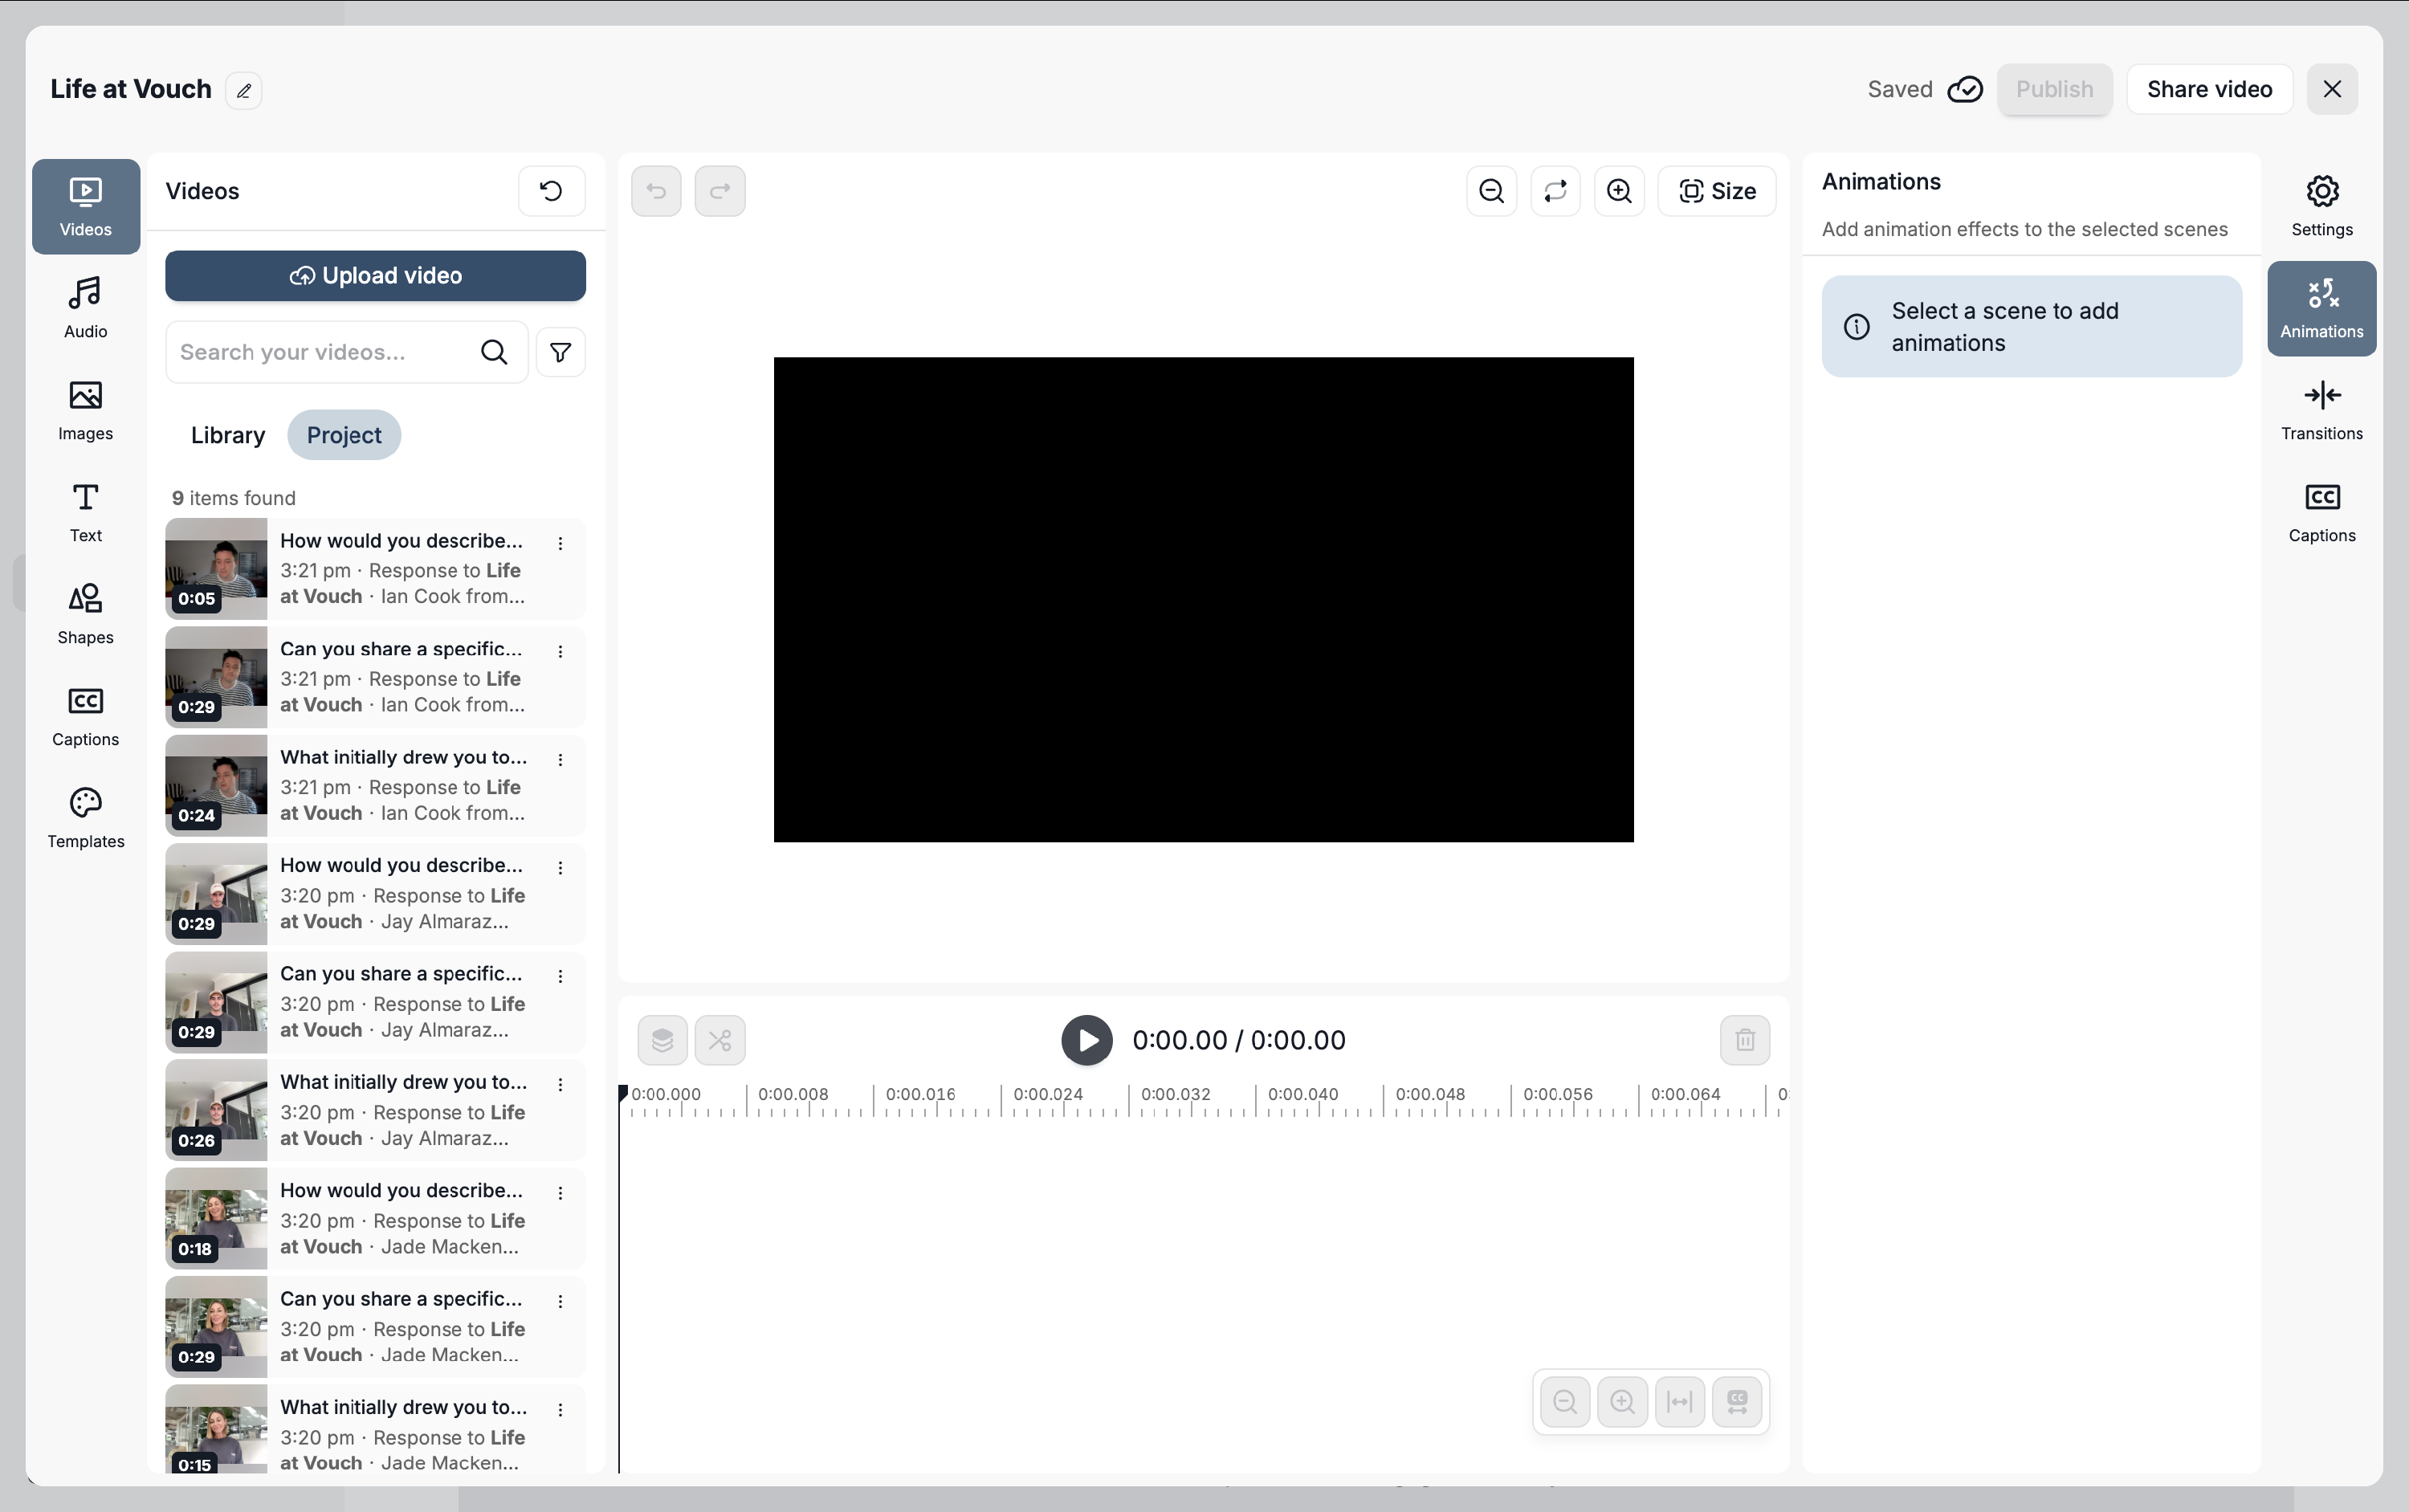
Alternatively, you can run Ask Vouch across your relevant videos to automatically identify highlights and create a composition from those key moments.